Attempts to decorate the floor originally were made long before the advent of 3D epoxy floors. A few decades ago, artisans covered the floor with a chintz fabric with a beautiful pattern and carefully filled the surface with varnish. It worked out pretty well.
Modern technology has made it possible to develop this simple idea, raising it to a higher level. As a result, we get a unique decorative flooring, consisting of a base layer, a three-dimensional pattern, and a transparent topcoat responsible for creating a 3D effect (acts as a lens).
Advantages of 3D Epoxy flooring
These floors have many advantages:
You can apply wallpapers, paints, etc. on walls and see how they look in various interiors.

Disadvantages of 3D Epoxy flooring
However, there is also a downside to the coin:
If such difficulties do not stop you, you can call one of the construction companies you trust to install a 3D self-leveling floor or get down to business on your own.
Preparatory work
Installation of the floor requires careful preliminary preparation (you should make calculations, purchase the necessary materials, tools and decide on the image version).
As for the technology itself, it is carried out in several stages. To clearly imagine the sequence of works, it should be recalled that 3D flooring is essentially a gradual application of several layers on a concrete base one after the other: priming, leveling (base), decorative, transparent finishing, which is covered with a special varnish for additional protection.
Now about the image, for the sake of which, in fact, the installation of the 3D floor is thought.
Let’s choose a printed image as a decorative layer. In this case, some subtleties should be taken into account:
Stages of installation of 3D Epoxy flooring
First step
This stage involves the preparation of a concrete base. Work should not be carried out if the floor’s humidity (base) exceeds 4%, and the air humidity is more than 50%. A high percentage of moisture will cause flaking. If the foundation is fresh, installing the self-leveling floor should be postponed for at least a month.
When all indicators are normal, you can start sanding and cleaning the base. Grinding can be done with a universal grinder (use segments for concrete processing). After that, thoroughly vacuum the entire surface. The base is now ready for priming. Grinding made it possible not only to level but also to reveal the concrete base’s porosity, which will allow it to be better impregnated with a primer composition specially designed for working with a self-leveling floor. It is better to prime with a flat trowel (it will fill the voids well). After drying (after a day), experts insist on re-priming since the strength of the connection between the base and the leveling layer depends on it.
Second step
A leveling layer is applied to the dry primer at this stage, which is obtained by combining the polymer and hardener. Mixing is done using a construction mixer with speed control (manual mixing will not work). It is better to prepare the composition in small portions (fast solidification makes the mixture unsuitable for work). The composition is accelerated with squeegees with inserts that regulate the layer thickness (move parallel to the walls towards the exit). To not leave traces on fresh material, artisans use paint shoes or wet shoes (sole with spikes fixed with nuts). Then the surface is finally leveled with a needle roller. This layer will freeze for at least a day.
Third step
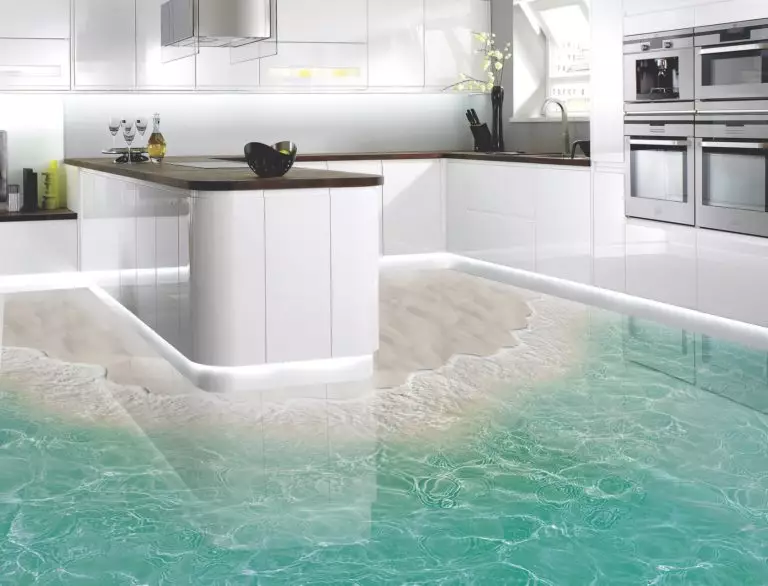
A decorating layer (in this case, a printed image) is applied to the frozen leveling (base) layer. If the drawing does not have an adhesive base, then the topcoat’s material can be used as the adhesive. The result is highly dependent on how the image is applied (without air bubbles and creases). For this work, you can use a clean roller.
Fourth step
At this stage, the decorative layer is filled with a transparent topcoat (two-component epoxy), which is mixed and applied to the image in the same way as the base coat. Instead of a squeegee, you can use a roller or scraper (it all depends on the layer’s thickness). To avoid minor blockages, the finishing layer can be covered with plastic wrap.
Fifth step
After complete polymerization, the floor should be covered with a special varnish, which will serve as additional protection against damage and retain its gloss.
Self-leveling 3D floor design: Conclusions + Photo gallery
I would like to remind you that working with such flooring is not the case when you can save on the material’s quality or neglect the technological process’s rules.